Conceptual illustration: Mais FPS, created with AI.
An empty fan mount has a remarkable ability to look like an unfinished job. Give a PC builder six available spaces and the shopping cart can fill itself. Yet the useful question is what the next fan will do for the CPU, graphics card and noise level. Some builds benefit enormously from another intake. Others mostly become better at announcing that they are switched on.
Start with the fans you already own. A sensible route through the case, clean filters and an appropriate speed curve can be more valuable than another illuminated circle. Buying extra hardware becomes easier to justify once you know what is missing.
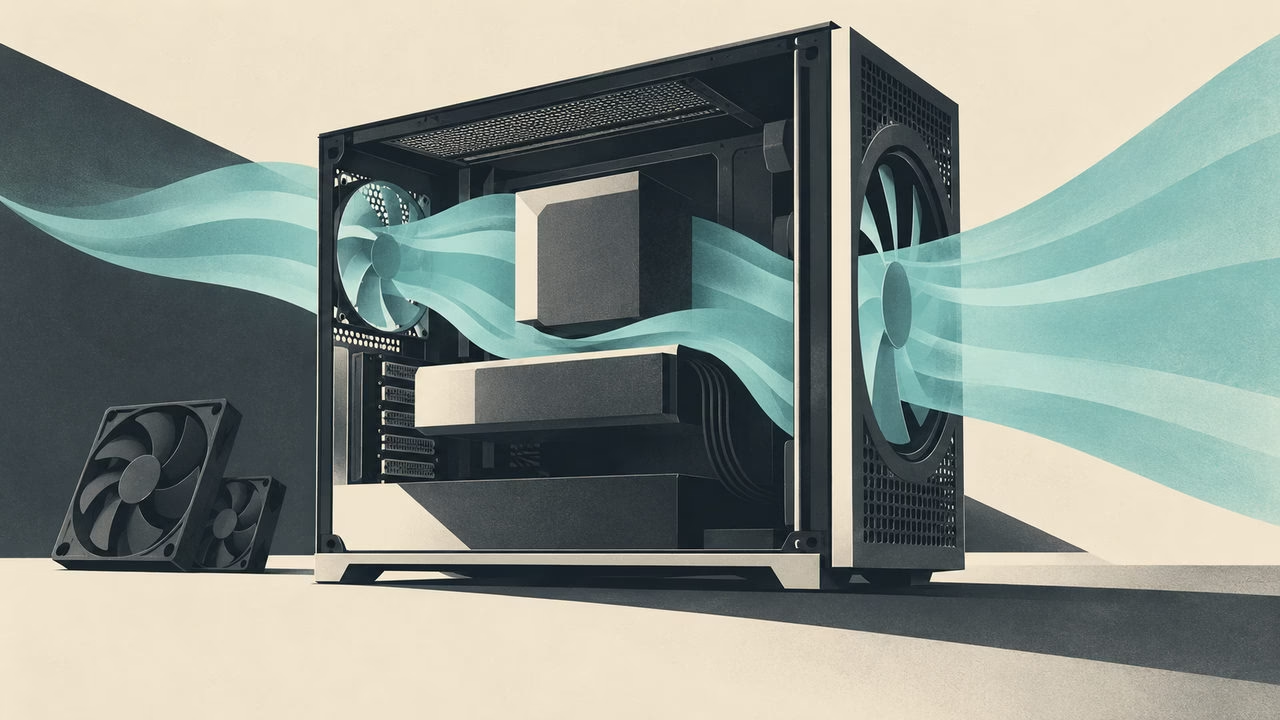
Follow the air through the case
In a conventional tower, front intake and rear exhaust make a reasonable starting arrangement. Bottom intake or top exhaust may help, depending on the case. Compact and dual-chamber layouts can work differently, so check the case maker’s recommended positions before copying a mid-tower diagram.
Trace where fresh air reaches the graphics card and CPU cooler, and where warm air leaves. A fan mounted behind a mostly closed panel has a different job from one facing open mesh. Cables, drive cages and a front radiator can change that route. Do not assume that every available position contributes equally.
Check direction using the fan’s markings or manual. The attractive side is an unreliable guide now that reverse-blade fans are common. Corsair’s explanation of its reverse models describes airflow going the opposite way through the frame. Matching the lighting across a build should not accidentally leave every fan extracting air.
The top-front mount is worth questioning
In GN’s full-speed HAVN BF 360 tests, adding two top exhaust fans slightly worsened CPU cooling, without a significant overall change. Reversing the frontmost one helped the CPU but hurt the GPU. Thermal tests and separate flow visualization explain the trade-off: a flow-through graphics cooler changes where air goes.
With a front-to-back CPU tower, an early exhaust can remove incoming air before it reaches the heatsink. A top radiator or different GPU layout changes the problem. Test that top-front position empty, as intake and as exhaust, recording both CPU and GPU behaviour at comparable noise. If the case provides a suitable vent cover, testing the unused opening covered is another option, not an established upgrade. Never cover an active radiator or required exhaust. The winning arrangement belongs to your geometry.
A big airflow number cannot describe the whole job
Fan specifications often advertise airflow and static pressure. Airflow describes the quantity moved; pressure capability matters when the fan meets resistance from a radiator, filter or dense grille. Those maximum ratings describe different operating conditions, rather than two benefits simultaneously delivered inside your PC.
Noctua illustrates this in its pressure-versus-airflow comparison: the highest endpoint on a specification does not necessarily give the most airflow against a particular restriction. The useful result lies where the fan and that restriction interact.
That makes model-specific tests more valuable than a sorting button set to “highest CFM.” Also check the speed used for those figures. A powerful fan at an intrusive setting may be a poor fit for a PC that sits next to your microphone.
Pressure is a tuning choice, not a fan-count contest
Positive pressure means the intake arrangement tends to push more air into the case than the powered exhaust removes, with the remainder escaping through openings. Negative pressure encourages air to enter through available gaps. Three intake fans and two exhausts do not prove either condition: size, speed and restrictions all matter.
Filtered intake with a mild positive-pressure tendency can help manage where dust enters. It does not make the PC dustproof. Corsair’s pressure guide discusses the trade-offs; your cleaning routine still matters. A clogged filter changes the arrangement you originally tuned.
Avoid turning pressure into a more important goal than component cooling. If your GPU is struggling while the CPU stays comfortable, increasing CPU exhaust alone may not address the problem. Think about the affected component’s access to fresh air.
Make the next change earn its place
GamersNexus’s 2025 case roundup separates stock and modified fan configurations and includes noise-normalized comparisons. That distinction matters: an enclosure’s result with extra fans is not the result you automatically receive in the box.
You can use the same principle at home without pretending to run a review lab. Keep the room conditions, game scene, power settings and test duration as consistent as practical. Let temperatures settle. Record CPU and GPU temperatures alongside fan speeds, then listen from your normal seat. A lower temperature accompanied by a much louder machine is a trade-off, not an unqualified victory.
Change one thing, repeat the run and compare. Repositioning an existing fan may answer the question before a purchase. If you add one, retune the speeds: several fans working gently may be more pleasant than a smaller set running hard, but the result needs checking in your case.
Before using splitters, check electrical limits. Noctua advises adding the fans’ maximum current draw and staying within the specific motherboard header’s rating. Shut down and disconnect power before changing wiring, and keep cables clear of the blades.
The empty mount can stay empty. Once temperatures are appropriate and the PC sounds comfortable, you have finished the useful part of the job.